Have you ever wanted to learn woodcarving, but weren’t sure where to start? Well, today’s your lucky day! In this post, we’ll give you all the tips and tricks you need to get started woodcarving at home. Trust us, it’s easier than you think! So grab your tools and let’s get started.
How Can I Start With Wood Carving From Home?
Here are the main points you’ll need to get started with woodcarving at home:
• Find some wood to work with. Look for pieces of wood that are free of knots and other defects. Select a piece with a grain pattern you like and that is appropriate for the type of carving you want to do.
• Get the right tools. A good set of wood carving tools is essential for successful woodcarving. Choose a set that includes knives, gouges, and chisels so you can make different cuts and shapes. Make sure your tools are sharp and in good shape before using them.
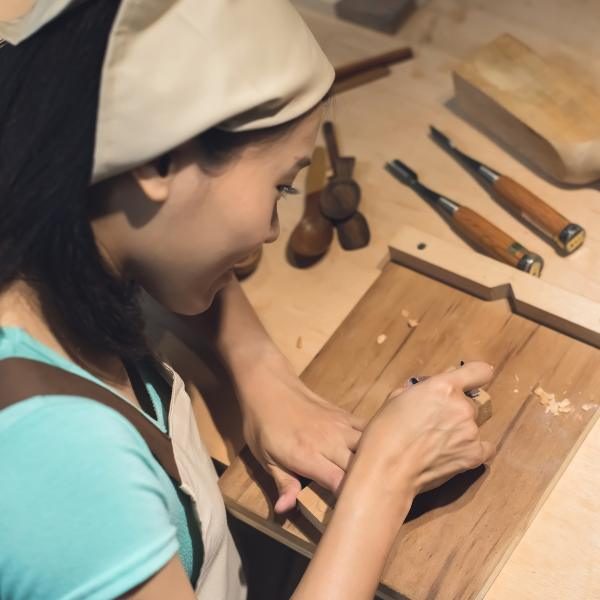
• Prepare your workspace. Set up an area in your home where you can safely and comfortably work on your projects. Make sure it has plenty of light, good ventilation, and open space to use your tools.
• Learn the basics of woodcarving. Before you start carving, familiarize yourself with the different types of cuts used in woodcarvings, such as relief carving and chip carving. Research how to hold your tools safely and securely, as well as techniques for sharpening them.
• Practice! Start small by making simple shapes and designs. As your skills improve, you can work on more intricate pieces. Have fun experimenting with different woods and techniques to create beautiful wood carvings.
• Make sure to take safety precautions. Woodcarving can be dangerous if proper precautions aren’t taken. Always wear protective eyewear and use a mask when working with wood dust to avoid breathing in dangerous particles. Wear gloves when handling tools, as well as long-sleeved shirts and pants for added protection.
• Show off your work! Once you’re satisfied with a piece of woodcarving, display it proudly in your home or give it as a gift. You can even enter contests or shows to show off your skills and get feedback from other woodcarvers!
Choose The Right Type Of Wood For Your Project
Woodcarving is all about selecting the right type of wood for your project. Each type of wood has its own unique characteristics and qualities that can affect the outcome of your carving. Some woods are harder than others, while other types will take detail better. Consider what kind of design or shape you want to create before choosing a piece of wood.
Pick Out The Right Tools For You
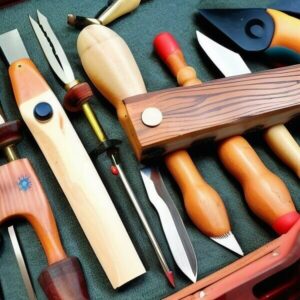
The next step to getting started with woodcarving is to pick out the right tools. There are many different types of carving tools, from chisels and gouges to saws and power carvers. It’s important to select a tool that fits your hand comfortably and is suited for the type of wood you’re working with.
Pick the right knife for your job, and make sure to use a sharpening stone or honing guide to keep your tools in top condition.
It’s also a good idea to invest in quality tools that will last a long time.
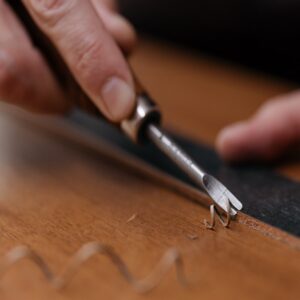
The main tools you’ll need are chisels and gouges, which will allow you to create intricate details and cuts. You can also invest in a power carver for faster results.
Practice the Basics of Carving
Before you dive into carving a masterpiece, it’s important to take some time to practice basic techniques, like using a chisel. Start by taking some scrap wood and using your tools to get a feel for how they work. You can also practice drawing lines, curves, and other shapes on the wood to familiarize yourself with the process.
Feeling the grain of the wood is also important when carving. Take some time to run your hands over the surface and get a feel for how the grain runs. This will help you know where to carve and how deep to go.
Sketch Out Your Design On The Piece Of Wood
Once you have your tools and you’re comfortable with the basics of woodcarving, it’s time to start sketching out a design. Take some time to plan out exactly what you want to create before picking up a tool. This will help ensure your carving looks how you want it to when it’s finished.
Tip: Pick easy projects for your first few carvings. Start with something simple like a small animal or a flower before trying to carve something more complex.
You can use a pencil or pen to sketch out your design, or you can use a wood burning tool for more precise lines.
Start Carving!
Now that you know the basics of woodcarving and have sketched out your design, it’s time to start carving! Take your time and go slowly as you work through each step. If you make a mistake, don’t worry; woodcarving is all about learning from your mistakes and continuing until you get it right.
Take breaks often to give your hands a rest and make sure the blade of your tool stays sharp. You may also want to invest in some protective eyewear or gloves to keep yourself safe.
Sand Down The Edges Of Your Carving
Once your carving is finished, it’s time to sand down the edges. This will help give your piece a smooth, even finish and make it look professional. Use progressively finer grits of sandpaper until you get the desired finish. You may also want to use a wood stain or sealant to preserve your masterpiece.
Finish Your Carving & Enjoy Your Masterpiece
Once you’ve finished carving, it’s time to admire your masterpiece! Take some time to look over your work and make sure everything looks how you want it.
We recommend applying a clear protective finish to your carving to help preserve it. This will also give it an extra layer of protection against dirt and dust, it will help keep your masterpiece in perfect condition.
Conclusion
Wood carving is an enjoyable and rewarding hobby, but it can take some practice to perfect. With the right tools, patience, and a creative mind, anyone can learn how to carve beautiful pieces of art from wood. Start with simple projects and practice basic techniques until you feel comfortable enough to move on to more intricate designs. With some dedication and practice, you can create beautiful works of art from the comfort of your own home. Good luck!

